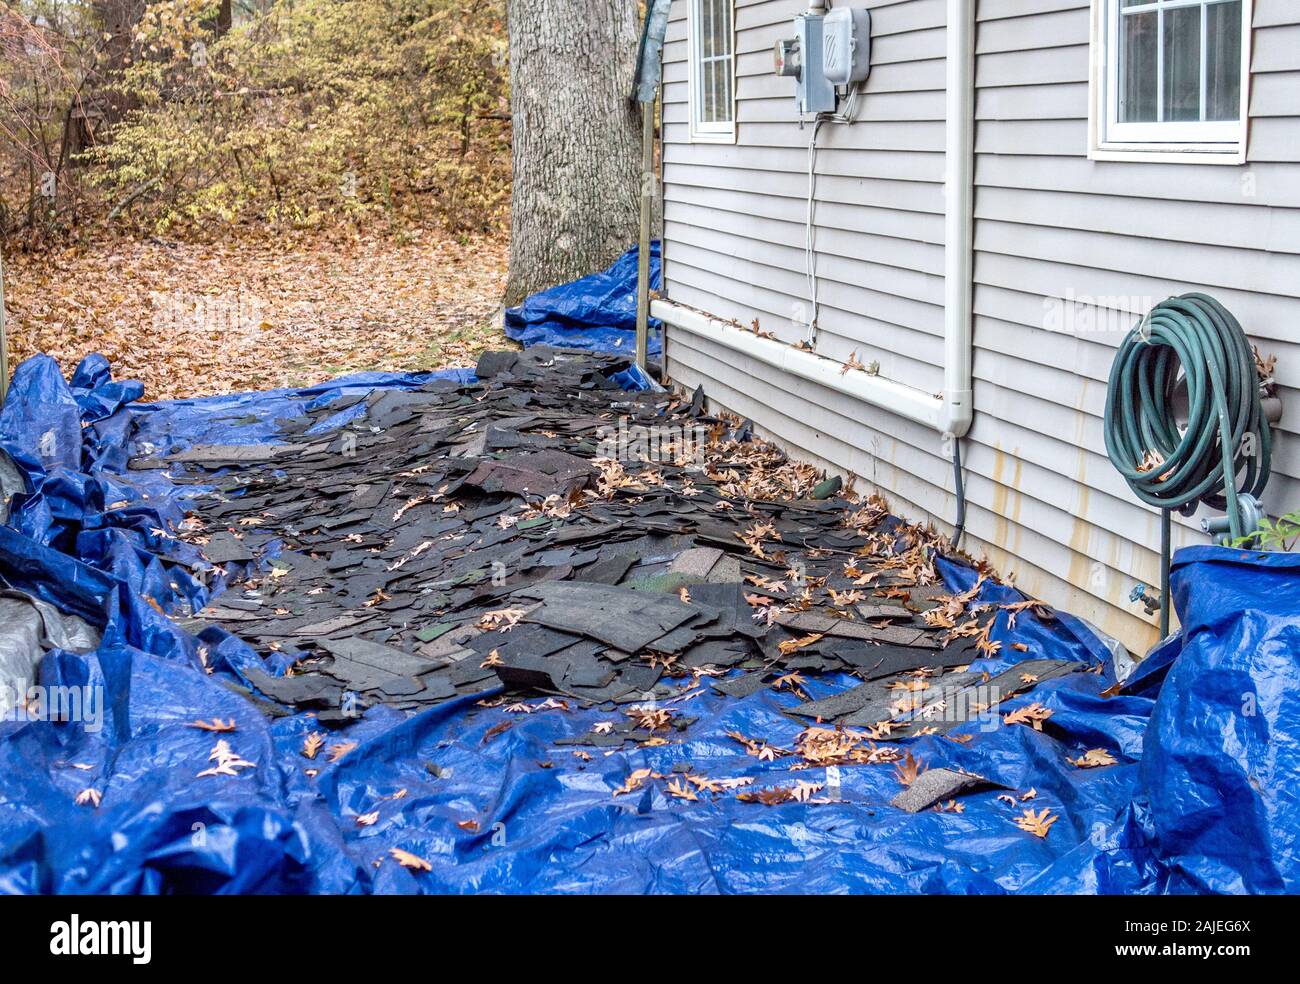
Temporary Tarp Cover For Hole In Roof

How To Cover Your Roof After Storm Damage Hunker

Install A Blue Tarp On A Roof Diy In A Hour

How To Temporarily Cover Your Roof When It Leaks Using A Tarp Youtube
How To Tarp A Roof For Temporary Roof Repair
How To Temporarily Cover A Roof

How To Block Roof Leaks While You Wait For Repairs Woodlands Roof Repair
As soon as it s possible to begin work again do so without delay.
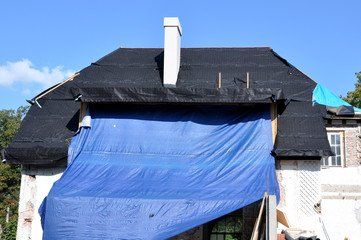
Temporary tarp cover for hole in roof.
How To Tarp A Roof Without Nails Contractor Quotes

Protect My Roof While I Am Waiting For Repairs Fix My Roof

Tarpaulin Repair Tape Self Adhesive Insulation Waterproof Roof Sealing Tape For Roofing Pipes Boat Holes Cracks Trapping Crack Window Tarp Tent Awning Cover Cracks Holes 619 Amazon Co Uk Kitchen Home

How To Tarp A Roof Like A Pro Grizzly Tarps Blog

How To Tarp A Roof The Home Depot

Temporary Roof Damage Mitigation In Four Steps Servpro Of Ne Salt Lake City Park City

Difference Between Roof Tarps And Roof Shrink Wraps Krystalcare Restoration
.jpg.dfae29b660cfc543f42c4bcc29b46e2c.jpg)
Scaffolding Tent For Temporary Roofing General Self Build Diy Discussion Buildhub Org Uk

Qvs Shop 5m X 20m Heavy Duty Black Silver Tarpaulin 270gsm With Eyelets Great For Groundsheets

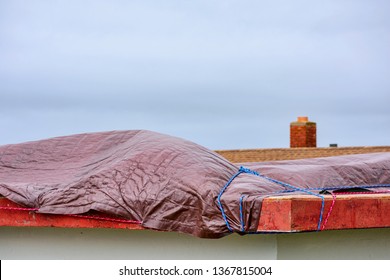
Tarp On Roof High Resolution Stock Photography And Images Alamy

Tarpaulin Repair Tape Self Adhesive Insulation Waterproof Roof Sealing Tape For Roofing Pipes Boat Holes Cracks Trapping Crack Window Tarp Tent Awning Cover Cracks Holes 619 Amazon Co Uk Kitchen Home
Roof Tarp Total Care Restoration

Temporary Roofing Qa Instruction Section 7 Roofing Quality Assurance Youtube

How To Tarp A Roof

How To Temporarily Patch A Leaky Roof With A Tarp

Pitched Roof Insulation Temporary Roof Covering

Turn Your Old Ripped Target Gazebo Into This Replacement Diy Gazebo Patio Gazebo Gazebo Roof

Emergency Roofing How Long A Tarp Should Last For You
Https Encrypted Tbn0 Gstatic Com Images Q Tbn 3aand9gcqhb7ffttswzcd5bnmttwzlb2ltnhgsraaqv1abzyggrzzoka9a Usqp Cau

Tarp Roofing An Ultimate Guide Canvasandcanopy Com

Osha S Hazard Exposure And Risk Assessment Matrix For Hurricane Response And Recovery Work Roof Inspection Tarping Repair And Replacement

Make Your Own Dyi Dog Kennel Roof Cover In 2020 Diy Dog Kennel Dog Pen Outdoor Dog Kennel Roof
Blue Tarp High Resolution Stock Photography And Images Alamy

How To Tarp A Roof Youtube

Yuzet Blue 4 5m X 6m Heavy Duty Waterproof Tarpaulin Ground Sheet Cover Multipupose Cover For Roofs Garden Furniture Log Stores Caravan Camping Tent Groundsheet Uv Resistant Roofing Builder Diy Amazon Co Uk Garden
Need Help With Tarp Roof Holding Water Backyard Chickens Learn How To Raise Chickens
What Are The Best Tarps For Temporary Roofing Chicago Canvas Supply

200gsm Extra Heavy Duty White Tarpaulin Waterproof Camping Ground Sheet Cover Builders Roofers Tarp Market Stall Shelter 12ft X 18ft White Amazon Co Uk Diy Tools

70 House Tarp Roof Photos Free Royalty Free Stock Photos From Dreamstime
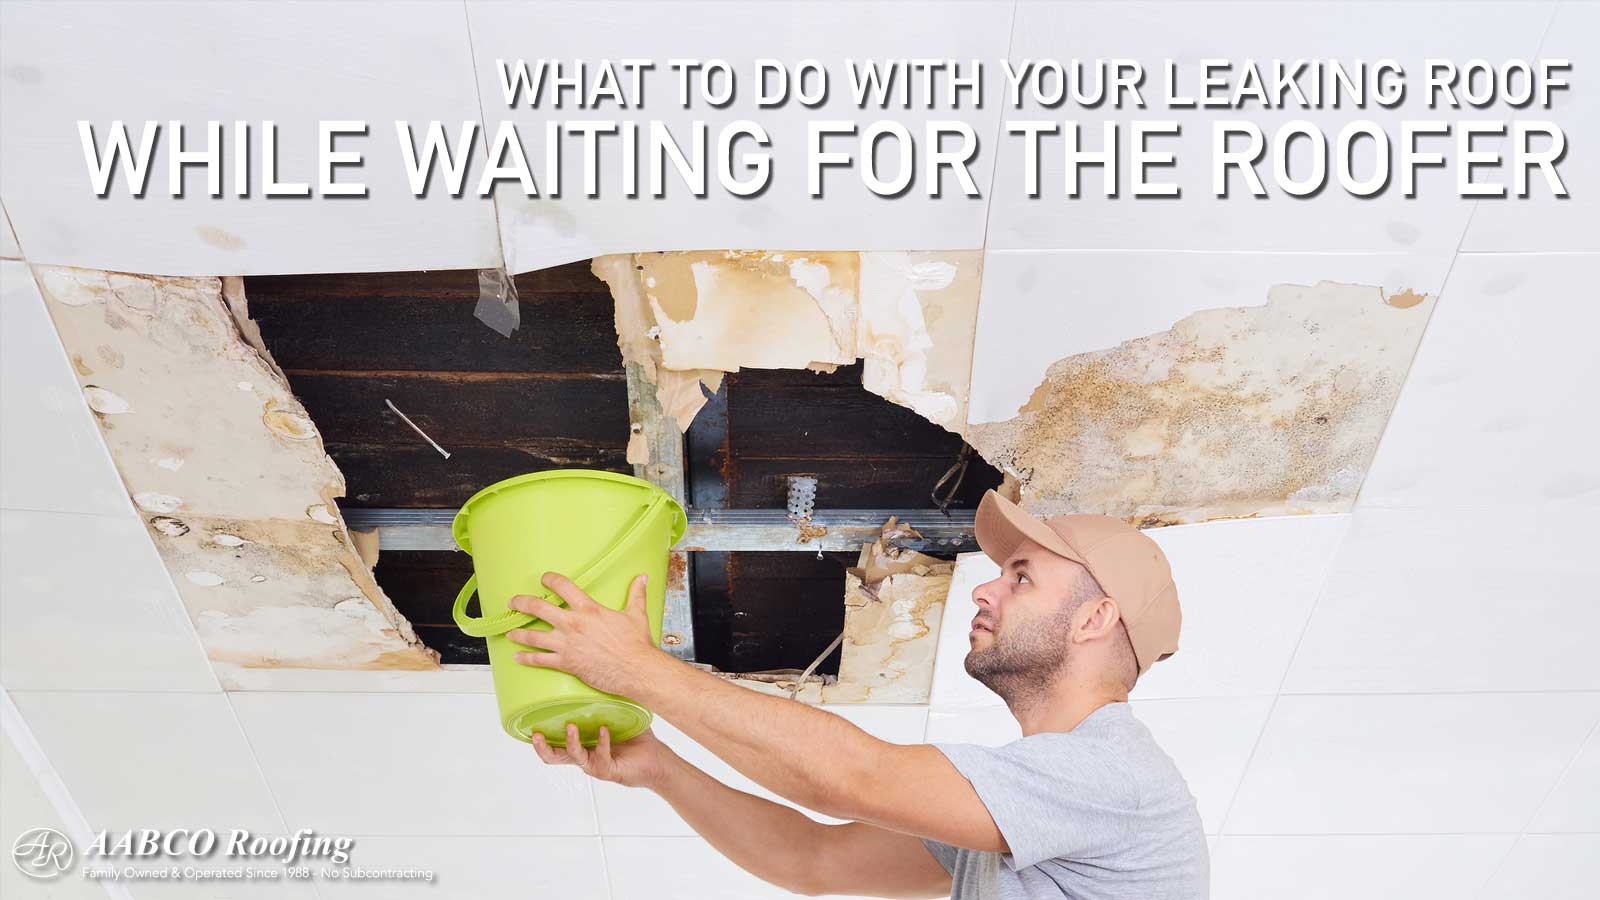
Leaking Roof Stop The Leak While You Wait For Help

Agritrade Ak Tarpaulin Waterproof Heavy Duty Universal Tarp Sheet Premium Quality Cover Made Of 100 Gram Square Metre Tarpaulin Nylon Weave Eyelets 3 X 3 M 9 8 X 9 8 Ft Amazon Co Uk Garden Outdoors

How To Temporarily Cover Your Roof When It Leaks Using A Tarp Youtube Emergency Roof Repair Roof Roof Repair

Gardenmate 6x10m Waterproof Heavy Duty Tarpaulin Home Garden Green Tarp Sheet Premium Quality Cover Made Of 140gsm Tarpaulin Amazon Co Uk Diy Tools

Emergency Roofing Repair Lazy Guy Diy Roof Repair Diy Roof Patch Roof Repair

My Roof Is Leaking What Do I Do And The Dangers Of Waiting

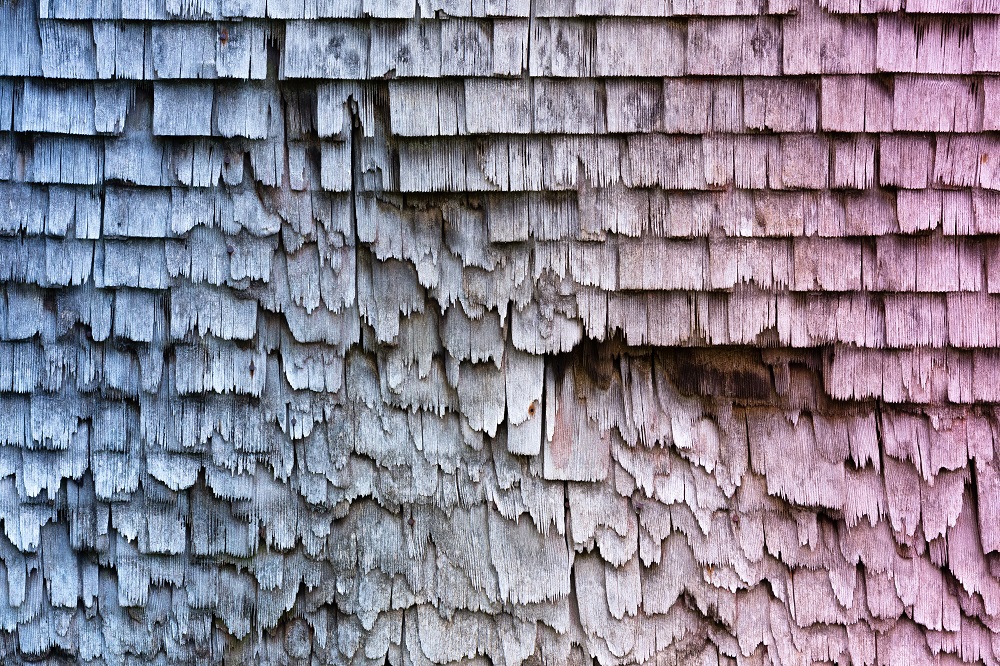
Roof Damage

The 12 X 16 Canopy With Valance Tarp Top Is Covered By A Warranty Of Five Years On Acts Of Erosion For The Canopy Top And F Canopy Tent Tarps Canopy

Is A Tarp Considered A Roof Wheeler Diulio Barnabei

Tarps Medium Duty Waterproof Ground Tent Trailer Cover Large Tarpaulin In Multiple Sizes 6 Oz Sq Yd Green 20 X 30 Tarpaulin Waterproof Tarp Canvas Tarps
Tarpaulin Roof Images Stock Photos Vectors Shutterstock

How To Stop A Roof Leak During A Storm Roof Revivers
How To Make A Carport That Isn T Ugly

How To Tarp Your Roof After A Hurricane Alufab Usa
Https Encrypted Tbn0 Gstatic Com Images Q Tbn 3aand9gcsgmsae0x89t1wgskgynzptm8zecebjxmxpp2llc5tqdyn7u7dr Usqp Cau
Source : pinterest.com
